Results 1 to 15 of 15

Thread: My 1984 SVO project

  1. #1
    Noob quickerstang's Avatar
    Join Date
    Apr 2013
    Location
    fontana
    Posts
    12

    My 1984 SVO project

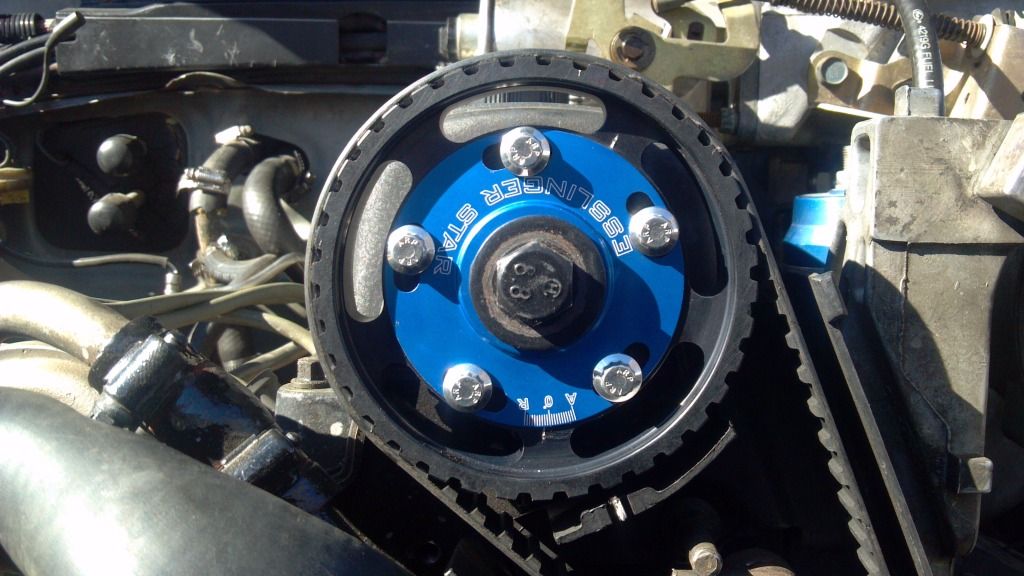
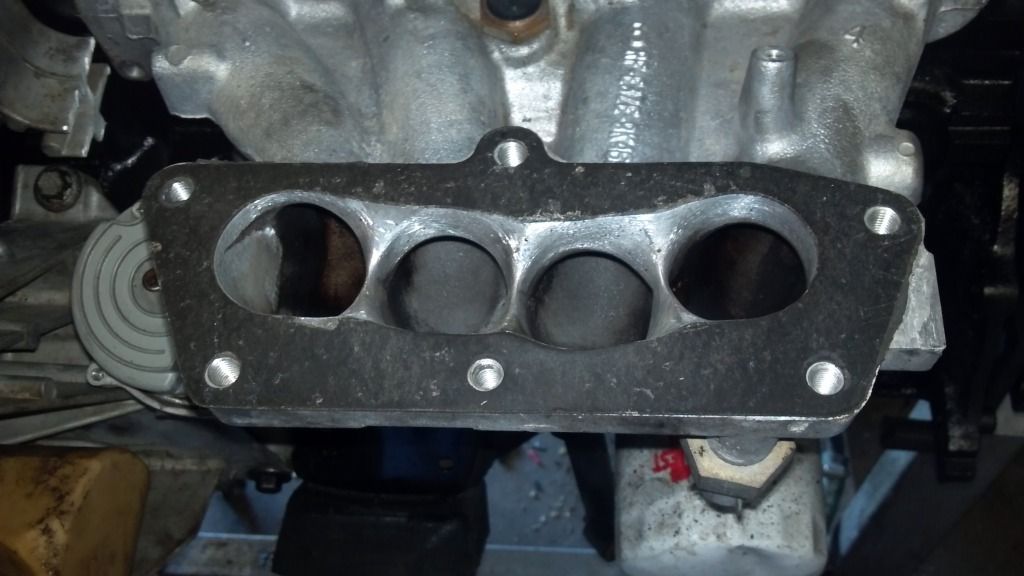
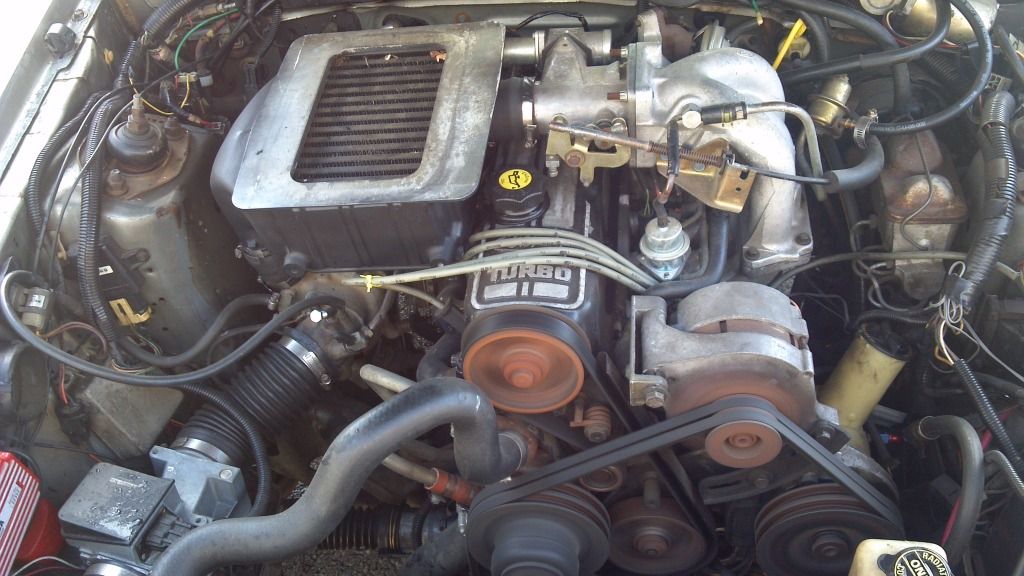
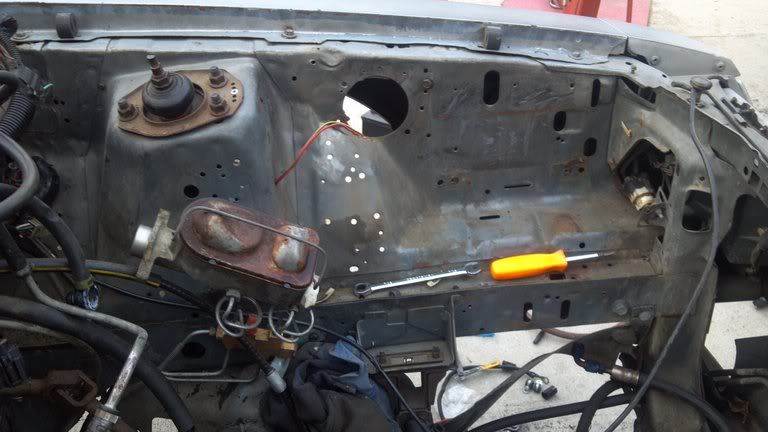
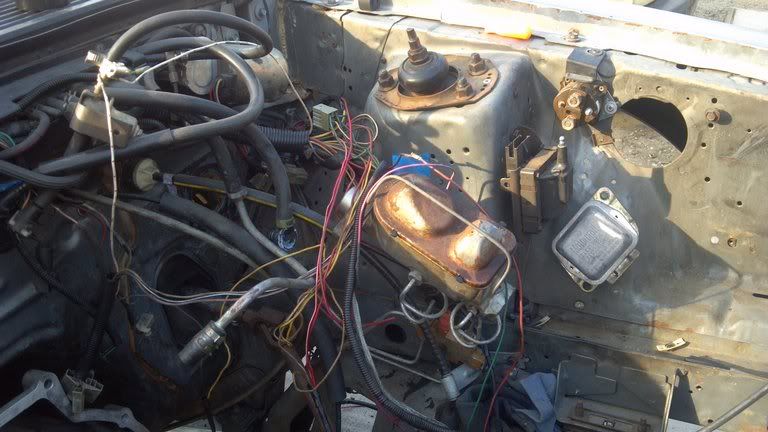
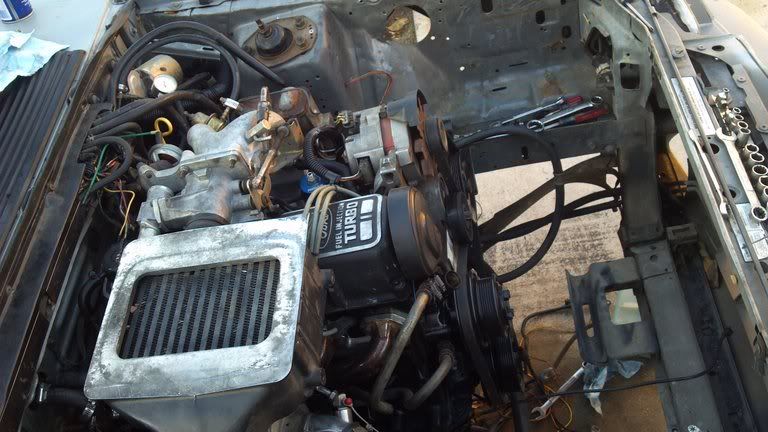
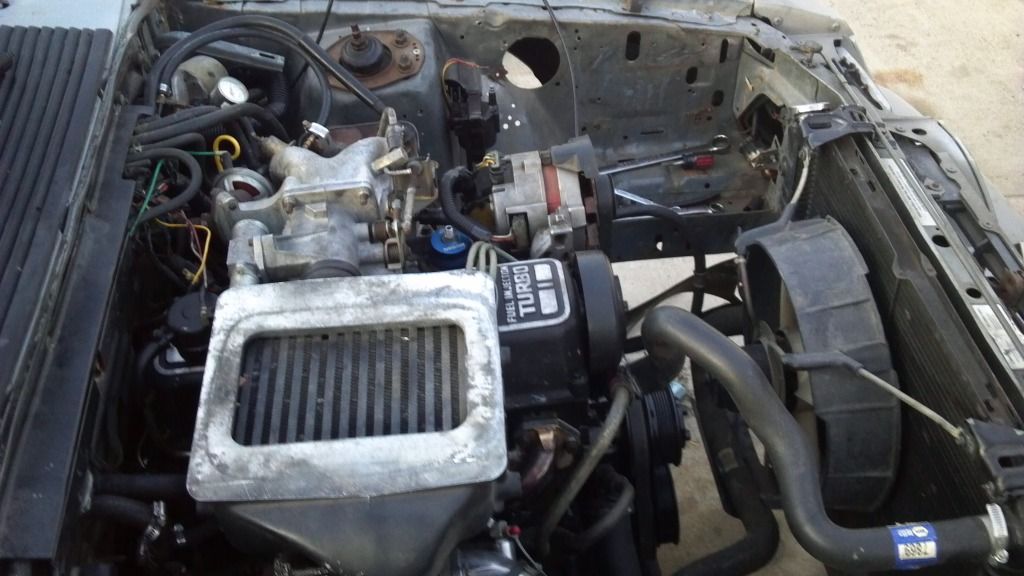
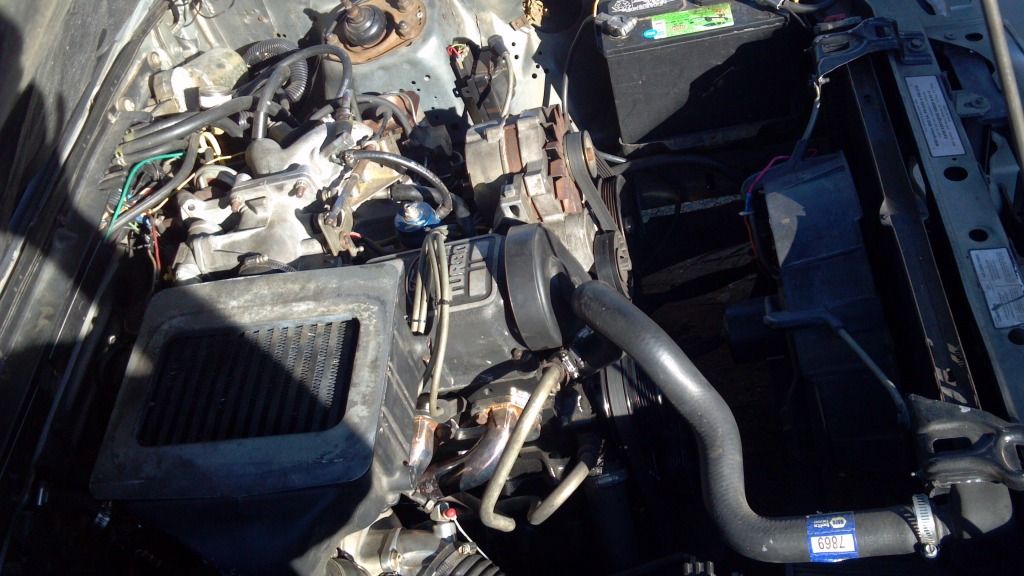
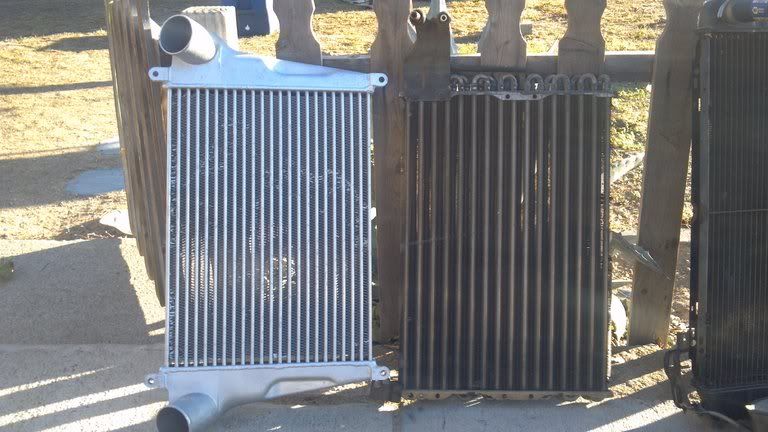
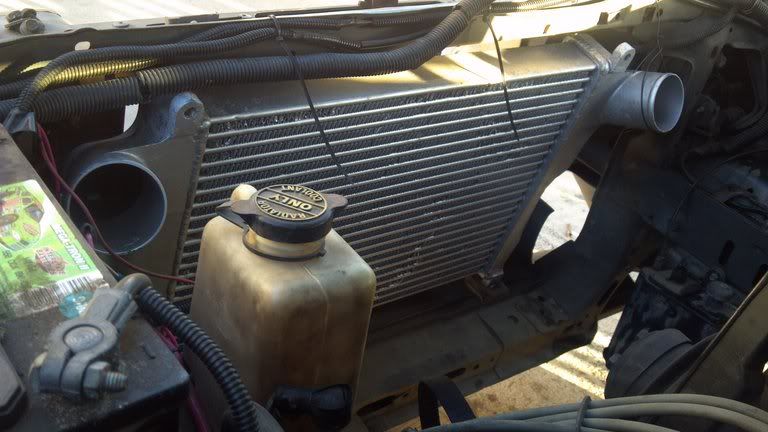
    I just thought I would share my SVO project with you guys. I will start at the beginning and take you to current eventually. It might take a little while to do the whole thing so bare with me.


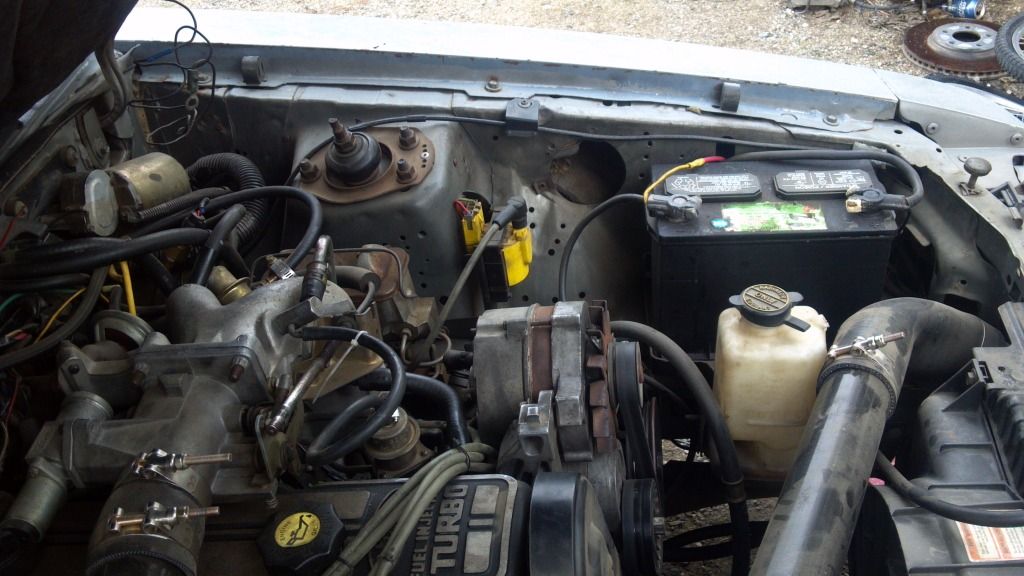
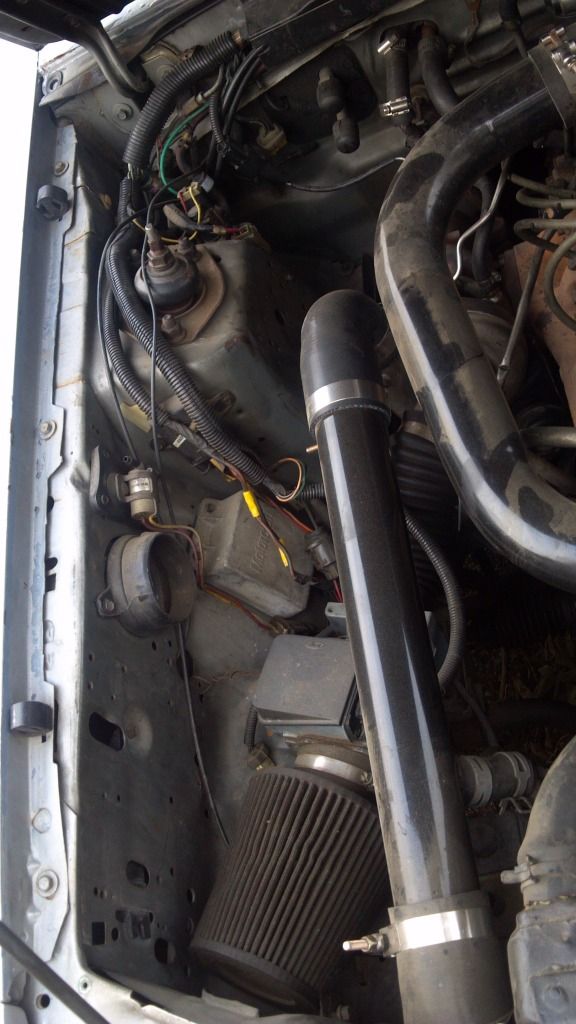
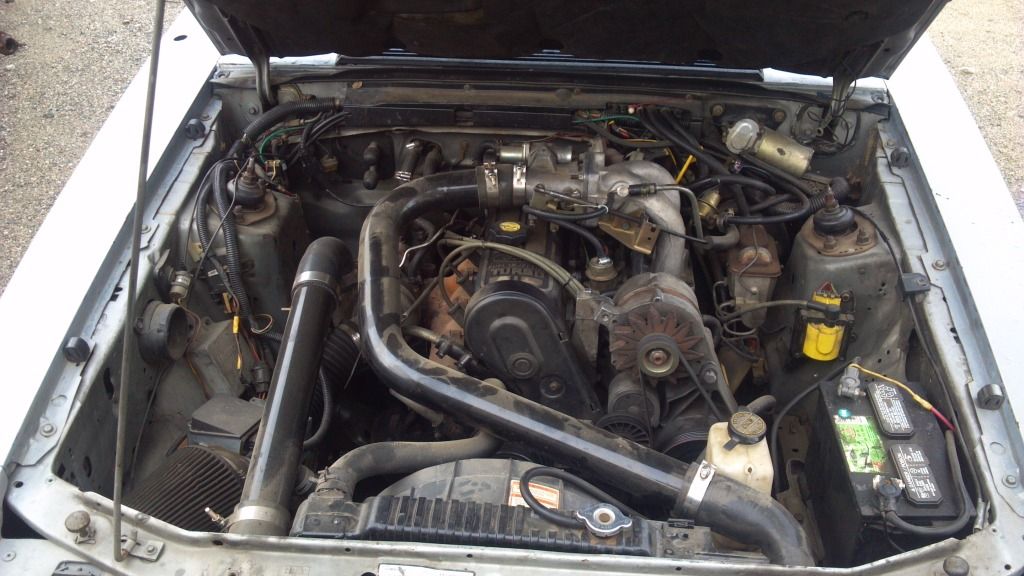
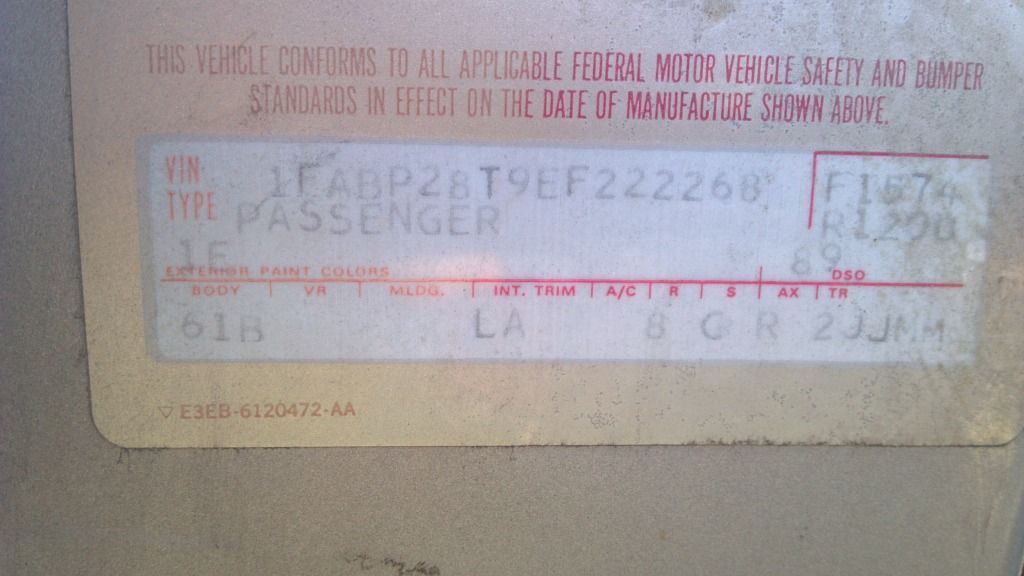
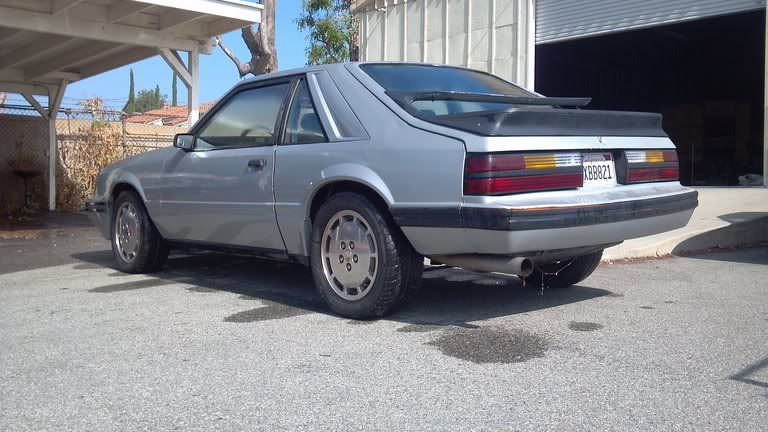
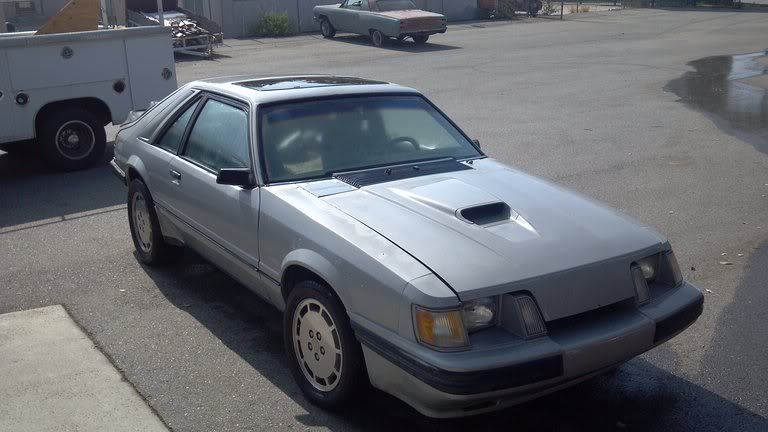
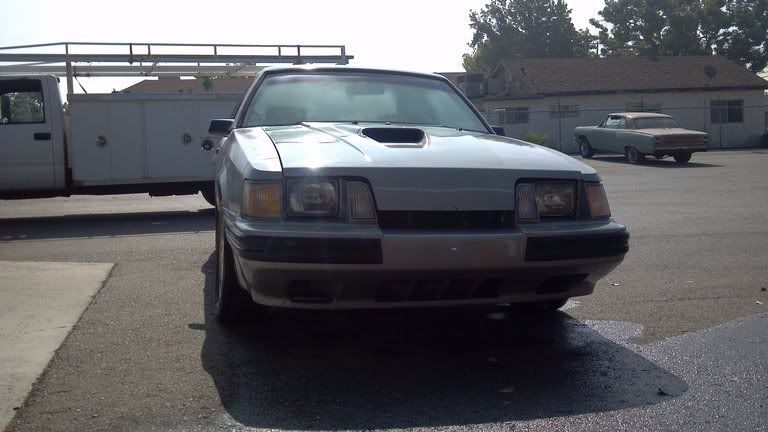
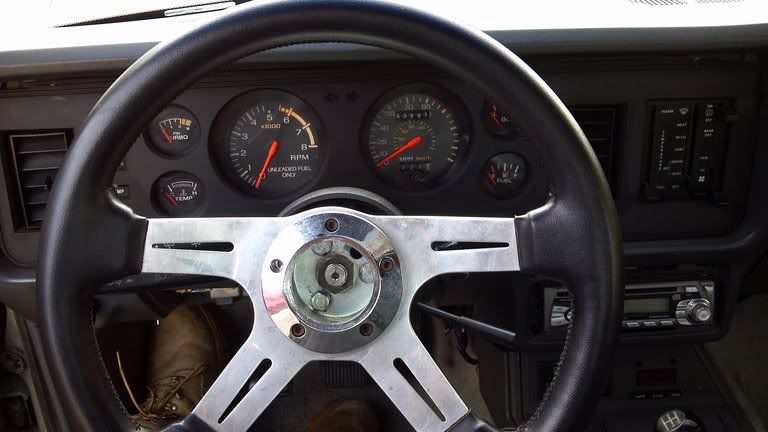
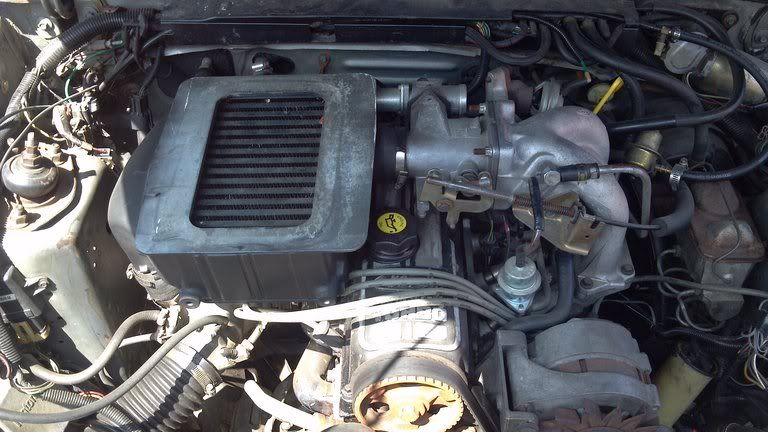
    This is when I first got the car. It was going to be for my dad, but he never really got into it. Here are the first pics of the car. Original price $900


  2. #2
    Noob quickerstang's Avatar
    Join Date
    Apr 2013
    Location
    fontana
    Posts
    12
    Had to change the steering wheel right away


    And so it starts!!!

  3. #3
    Noob quickerstang's Avatar
    Join Date
    Apr 2013
    Location
    fontana
    Posts
    12
    When I first got the car I thought the seat was loose then I found this under the carpet

    had to fix that mess


    no crap about the welds

  4. #4
    Noob quickerstang's Avatar
    Join Date
    Apr 2013
    Location
    fontana
    Posts
    12
    So I was having a issue with this car when I first got it where it would not run good at all when it was cold. I put a lot of info out there on different sites and finally came up with weak valve springs as the issue. When it was cold and the oil was thicker it would hang the valves open, therefore not making compression and would sputter and die. When it would warm up a little and the oil would thin out, it would run better but not good. It was not a easy thing to solve. I really thought itwas a wiring/ ignition issue but it wasnt. If any of you turbo guys have a doubt replace your valve springs. I used V8 explorer intake springs. I took the measurements and did the pressure tests on the springs and they seemed to be a good match for it.
    Being a drag racer and all I could leave well enought alone, so I ported the head and the intake and the E6 exhaust manifold that I added . Here are a few pics of when I had it apart. I also added head studs, just incase(drag racer mentality)


  5. #5
    Noob quickerstang's Avatar
    Join Date
    Apr 2013
    Location
    fontana
    Posts
    12

    also add a ranger roller cam

    and a esslinger adjustable cam gear so I can retard the cam

    intake pic

  6. #6
    Noob quickerstang's Avatar
    Join Date
    Apr 2013
    Location
    fontana
    Posts
    12
    I hate the rats nest that Ford calls the wiring harness, so I got rid of it. Here are some pics.
    before


    during


  7. #7
    Noob quickerstang's Avatar
    Join Date
    Apr 2013
    Location
    fontana
    Posts
    12


    now

  8. #8
    Noob quickerstang's Avatar
    Join Date
    Apr 2013
    Location
    fontana
    Posts
    12
    So I wanted a bigger intercooler and decided on the NPR. Here is a pic next to the stock radiator


    I went with the supercoupe radiator and fan for cooling


    for piping I went with stingers NPR/volvo kit

  9. #9
    Some Boost baltimucho's Avatar
    Join Date
    Jun 2012
    Location
    Salt Lake City
    Posts
    187
    Great start! Looking forward to watching your continued progress.

    To view links or images in signatures your post count must be 10 or greater. You currently have 0 posts.

  10. #10
    Noob quickerstang's Avatar
    Join Date
    Apr 2013
    Location
    fontana
    Posts
    12
    Quote Originally Posted by baltimucho View Post
    Great start! Looking forward to watching your continued progress.
    Thanks, there is a lot more as time permits I will add it

  11. #11
    Moderator Meotchh's Avatar
    Join Date
    Jun 2011
    Location
    Seattle, Washington, United States
    Posts
    1,362
    Nice work! No complaints about the welds from this guy. Pretty good compared to the damage I would have done
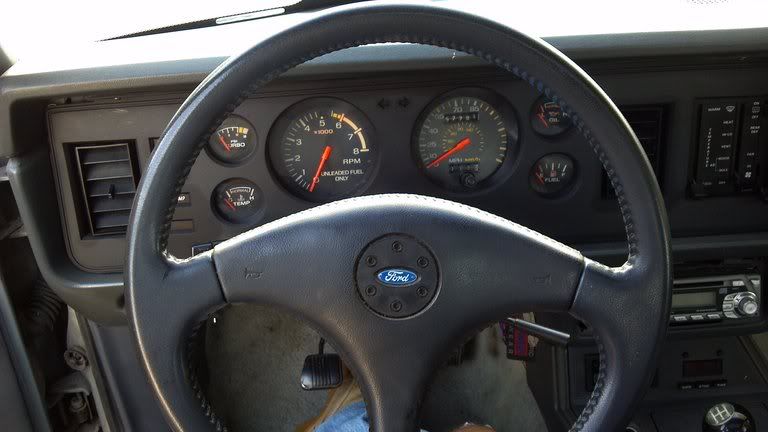
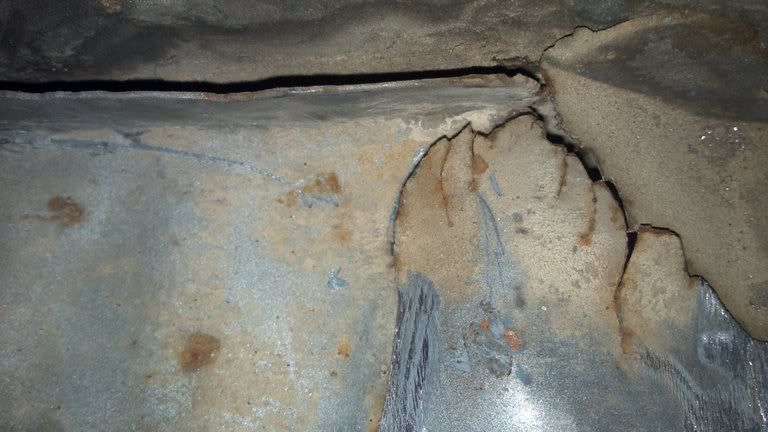
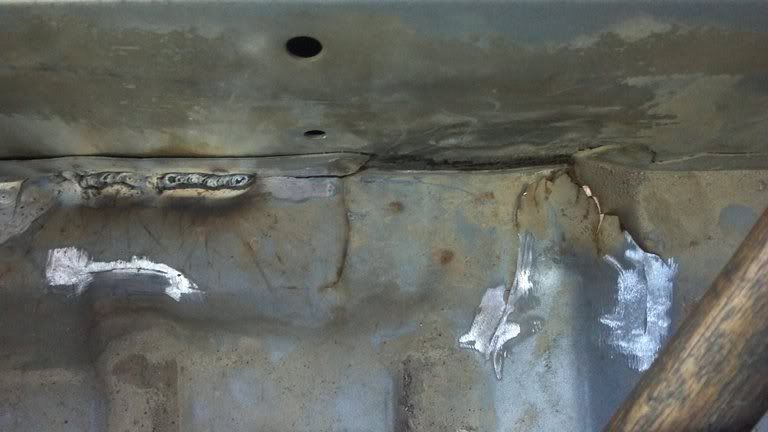
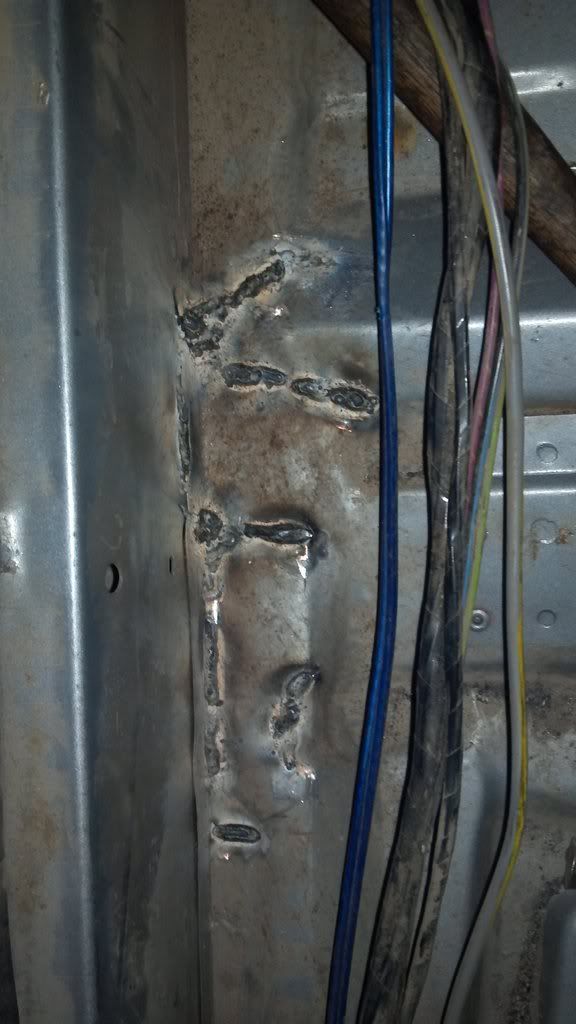
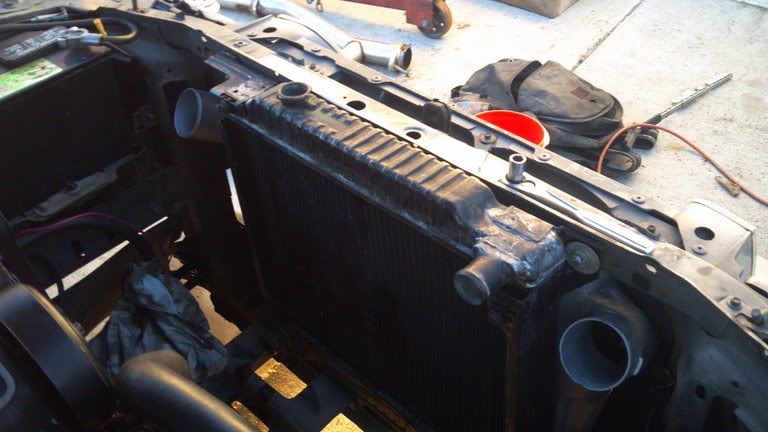
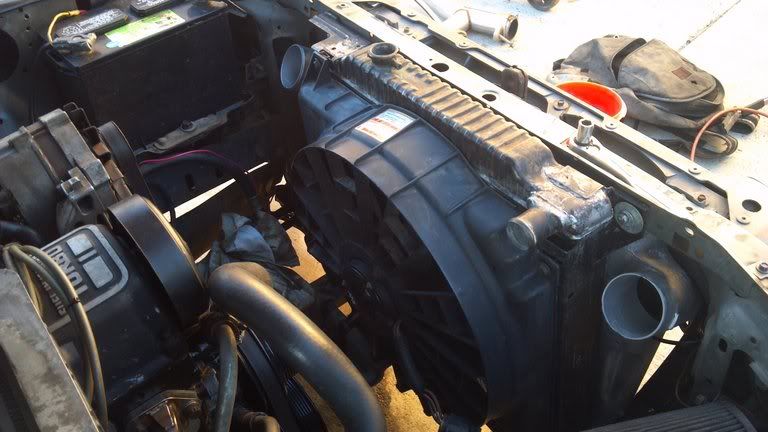
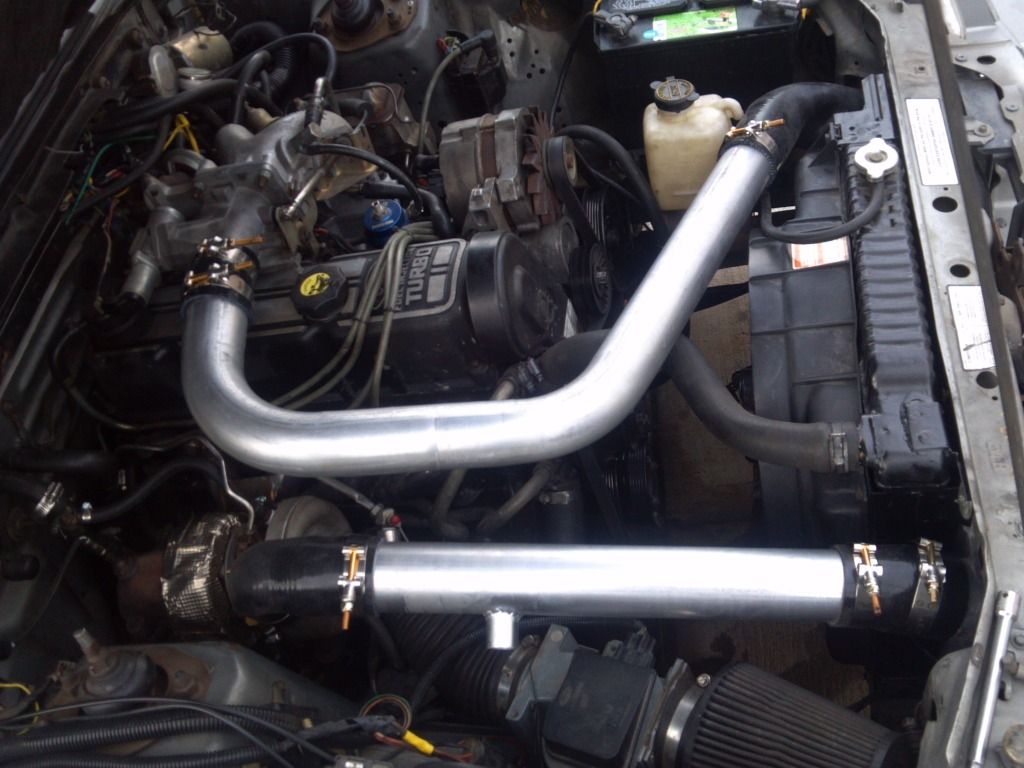
. I just simplify the weld work by purchasing Scotch for Pat & inviting him up for a week. Although it would be cheaper in the long run to improve my welding skills.
    There's nothing more to see here, now move along...

  12. #12
    Noob quickerstang's Avatar
    Join Date
    Apr 2013
    Location
    fontana
    Posts
    12
    took a couple better and yes it is dirty


  13. #13
    Noob quickerstang's Avatar
    Join Date
    Apr 2013
    Location
    fontana
    Posts
    12
    Here is the door tag.

    VIN
    1FA = Ford vehicle manufactured in USA
    B = active belts
    P = passenger car
    28 = Mustang 3-dr hatchback
    T = EFI turbocharged 2.3L engine (SVO)
    9 = VIN check digit
    E = 1984 model year
    F = Dearborn Assembly (DAP)
    222268 = 122,268th 1984 Mustang scheduled for production at DAP


    Door Tag
    F1574 = 1574 lbs front accessory reserve load
    R1200 = 1200 lbs rear accessory reserve load
    Exterior Paint Colors - 1E = Silver Metallic
    DSO - 89 = Transportation Services district sales office (internal Ford useage)
    Body - 61B = Mustang 3-dr hatchback
    Int Trim - LA = SVO cloth Articulated Sport seating (L), Charcoal/Grey interior (A)
    R - 8 = AM/FM stereo radio w/ auto-reverse cassette
    S - C = sunroof
    Ax - R = 3.45:1 axle ratio, Traction-Lok differential
    Tr - 2 = T-5 transmission
    JJ = front springs
    MM = rear springs

  14. #14
    Noob quickerstang's Avatar
    Join Date
    Apr 2013
    Location
    fontana
    Posts
    12
    Update project SVO,,,,
    After trying to get more fuel to the motor with the laptop yesterday I came to the conclusion that my 35lb injectors are too small for my setup.
    Oh by the way I run the quarterhorse with binary editor and the PE binary

    Today I swapped in some 42lb injectors I had and put the fuel back to where it should be for them and it is pretty good all the way across the RPM range. If anything I can take a little away.

  15. #15
    Noob
    Join Date
    Oct 2013
    Location
    Chico, CA
    Posts
    20
    Awesome work, looking forward to seeing the end result!

Posting Permissions

  • You may not post new threads
  • You may not post replies
  • You may not post attachments
  • You may not edit your posts
  •